1. Overview
I am considering starting an AI study group near Gifu station around March 2025. I would like to hold a study session once a month as a hobby, not only for AI, but also for programming and other IT-related technologies.
As a preparation, I have tried object detection by object detection neural network using Ultralytics YOLO and its training on my desktop PC.
However, if we run the programs in a study group, we will probably run them on laptops. So I tried Google Colab, which allows us to run programs using GPUs for free from our browsers. Google Colab is also available in a paid version, but the free version seems to work fine for running small-scale programs in a study group.
I opened this page from Ultralytics in Google Colab and confirmed that I can run programs such as object detection.
2. Preparation
Google Colab uses files stored in Google Drive. Therefore, prepare to use Google Drive from Google Colab.
2.1. Preparation for Google Drive
First, create a Google Account. Even if we already have a Google account, I think it would be better to create a new account separately for Google Colab.
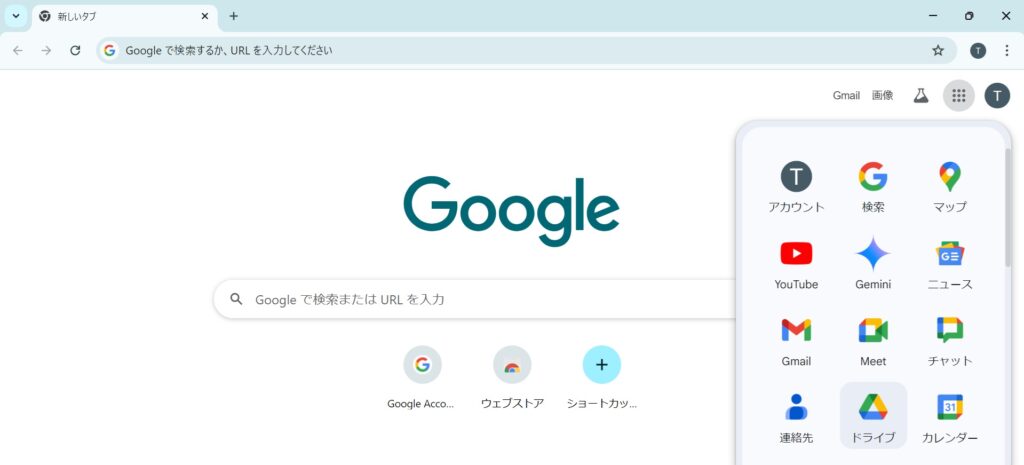
Next, open Google Drive as shown in the image below.
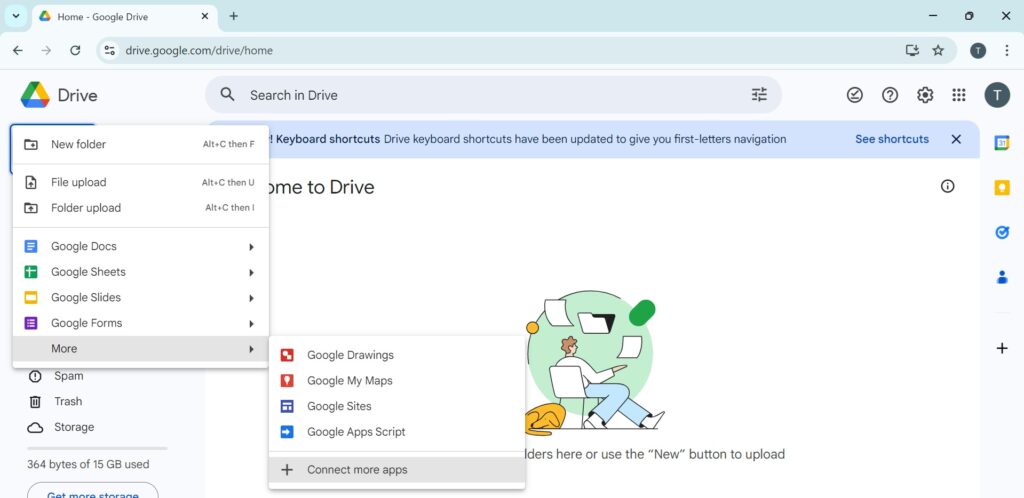
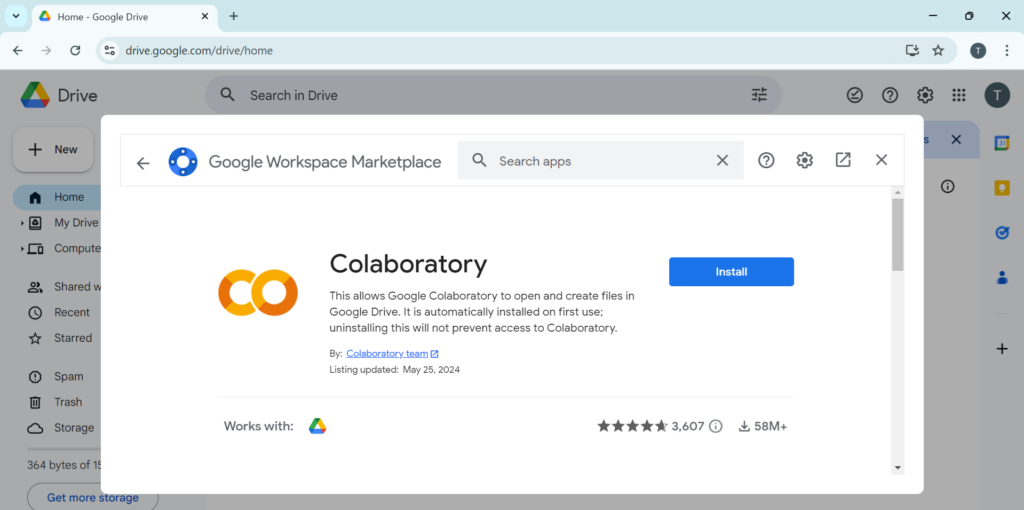
Click the “New” button and select “Connect more apps” as shown in the image below.
Search by “Colaboratory”,
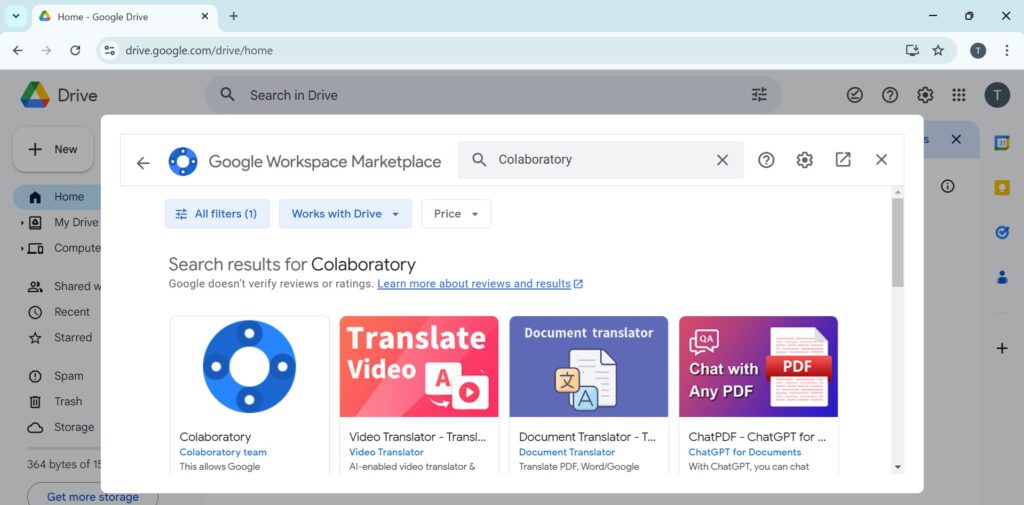
Install “Colaboratory”.
2.2. Preparation on Google Colab side
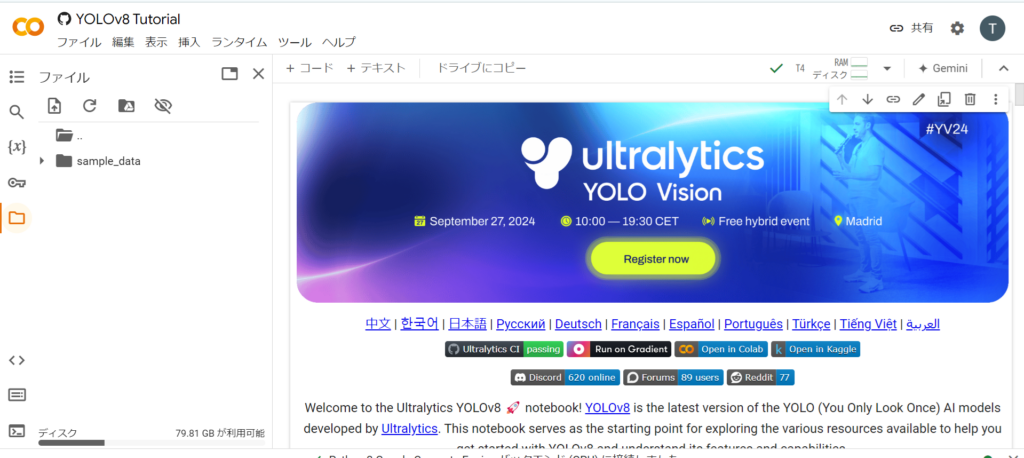
Open Ultralytics Google Colab page which is linked from Ultralytics documentation on Google Colab.
Click on the folder icon on the left,
then click on the icon in the green box,
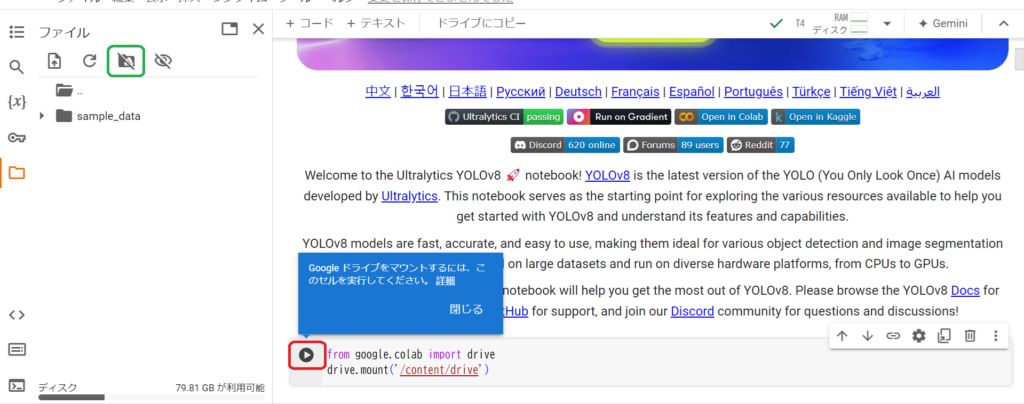
the Python code shown below will be added. Click on the button inside the red box in the image above.
from google.colab import drive
drive.mount('/content/drive')
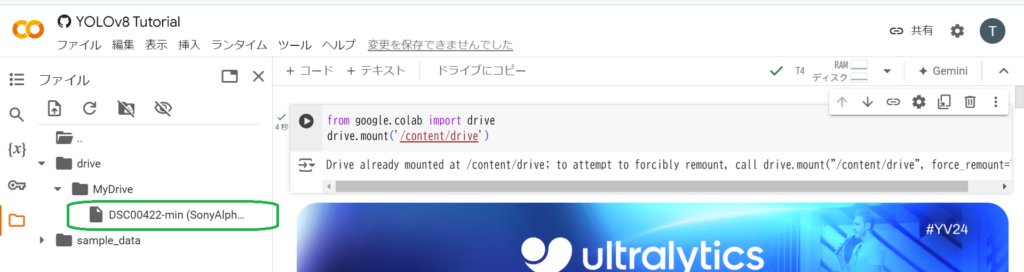
Mounting failed when only some data were selected as accessible data in the dialog that appeared after the button was clicked. Therefore, I selected a setting that allows access to all data in Google Drive, and the Google Drive was mounted.
As shown in the image below, I also confirmed that a file uploaded separately to Google Drive can be shown in Google Colab.
3. Running Ultralytics YOLO
3.1. Installing Ultralytics YOLO
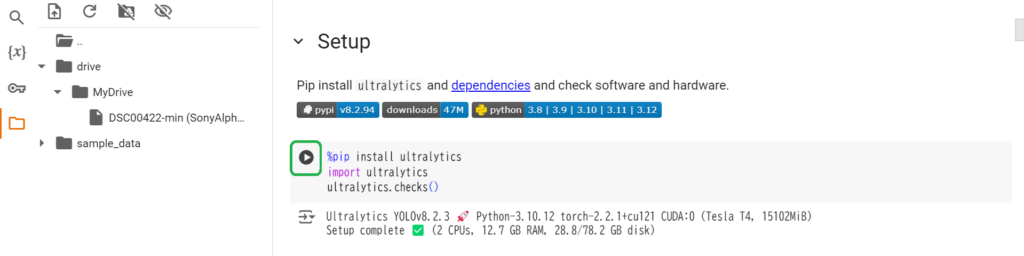
Click on the button inside the green box in the image below to install Ultralytics on Gooble Colab. After installation, the following log will be shown. The log shows that the GPU is being used.
3.2. Execution of Object Detection
Change the address of the source parameter argument of the following Shell command that executes object detection to the address of a target image file.
# Run inference on an image with YOLOv8n
!yolo predict model=yolov8n.pt source='https://ultralytics.com/images/zidane.jpg'
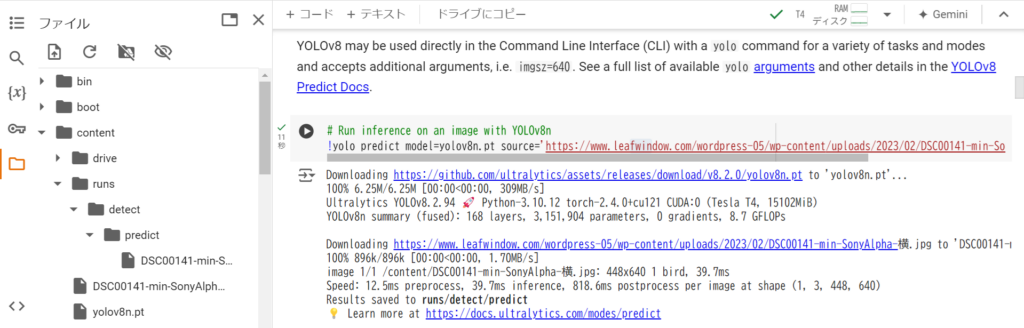
If the address is changed to that of the image in my web page as shown below and run it,
# Run inference on an image with YOLOv8n
!yolo predict model=yolov8n.pt source='https://www.leafwindow.com/wordpress-05/wp-content/uploads/2023/02/DSC00141-min-SonyAlpha-%E6%A8%AA.jpg'
a log like the image below will be displayed, and an image showing the detection results will be output in the /content/runs/detect/predict/ directory.
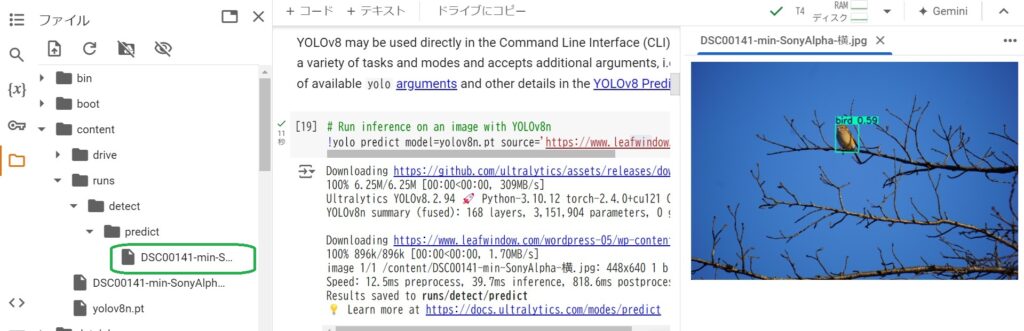
Double-click on the output file enclosed in the green box to display the image of the detection results.
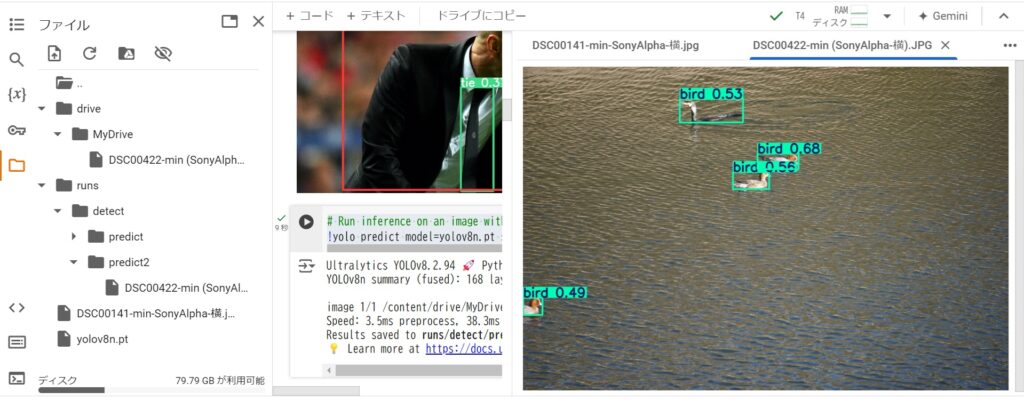
Rewrite the contents of the previous code cell to the path of the image uploaded to Google Drive as shown below and execute.
# Run inference on an image with YOLOv8n
!yolo predict model=yolov8n.pt source='/content/drive/MyDrive/DSC00422-min (SonyAlpha-横).JPG'
As shown in the image below, the result image is output to /content/runs/detect/predict2/.
Note: Python scripts are usually written in code cells like the one above in Google Colab. If you start with “!” as in the above example, you can execute Shell commands. Also, if you start with “%” as in the example in 3.1. above, Jupyter’s magic command will be executed.
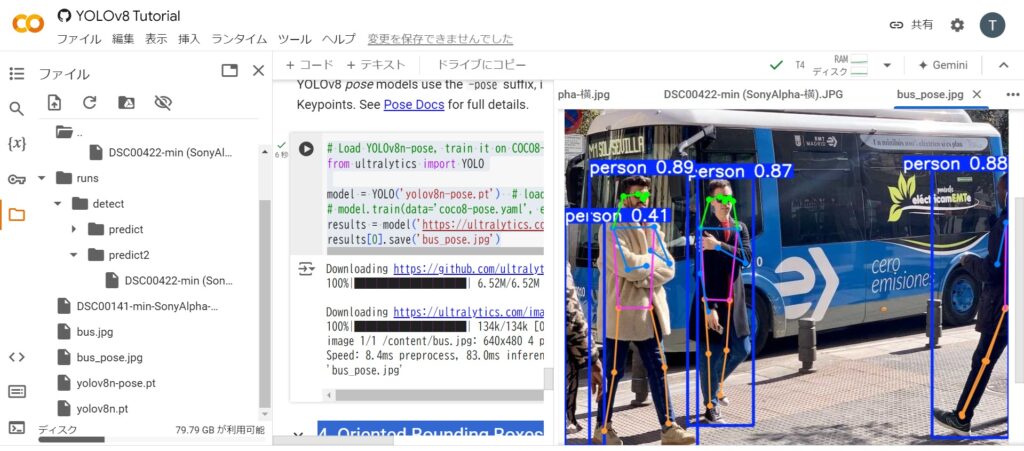
3.3. Execution of Pose Estimaion
Select “Tasks – Pose” from the Table of Contents and navigate to the Pose estimation sample code on the page. Rewrite the following Python script that performs human posture estimation.
# Load YOLOv8n-pose, train it on COCO8-pose for 3 epochs and predict an image with it
from ultralytics import YOLO

model = YOLO('yolov8n-pose.pt')  # load a pretrained YOLOv8n pose model
model.train(data='coco8-pose.yaml', epochs=3)  # train the model
model('https://ultralytics.com/images/bus.jpg')  # predict on an image
The Python script above performs network training followed by pose estimation. Modified so that training is not executed and the estimation results are written out as an image file as shown below.
# Load YOLOv8n-pose, train it on COCO8-pose for 3 epochs and predict an image with it
from ultralytics import YOLO

model = YOLO('yolov8n-pose.pt')  # load a pretrained YOLOv8n pose model
# model.train(data='coco8-pose.yaml', epochs=3)  # train the model
results = model('https://ultralytics.com/images/bus.jpg')  # predict on an image
results[0].save('bus_pose.jpg')
Clicking on the right arrow button to the left of the code cell and executing the code will output the results of the posture estimation. The Python script above outputs the results of the pose estimation as bus_pose.jpg. The image below shows an enlarged output file after double-clicking it.