1. Overview
I installed PyCharm on Windows 11 and debugged and ran Ultralytics YOLO.
This time, I checked on a laptop LIFEBOOK WU2/D2 without GPU.
Click on the images on this page to view them as larger, clearer images.
2. Install PyCharm
I installed PyCharm Community by following the Install the Toolbox App instructions on this page.
2.1. Download the Toolbox App for Windows
I downloaded the Toolbox App executable for Windows from this page.
2.2. Install PyCharm Community
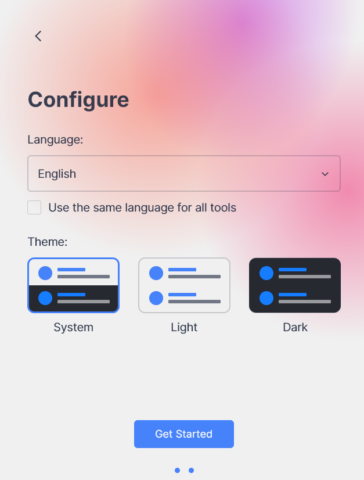
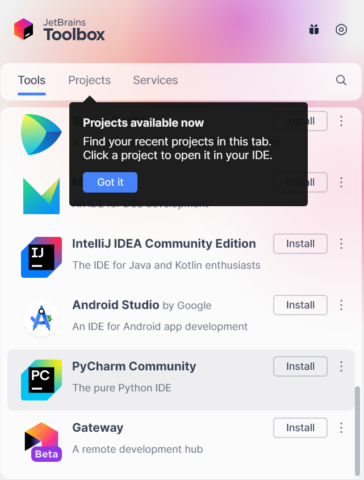
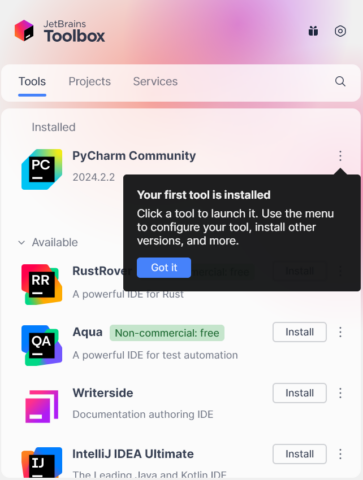
Double-clicked the Toolbox App executable and installed PyCharm Community. As shown in the second image, PyCharm Community was located at the bottom of the screen for selecting an app to Install. After a few moments of clicking Install, the third image will be shown.
3. Debugging Ultralytics YOLO in PyCharm
3.1. Starting PyCharm Community
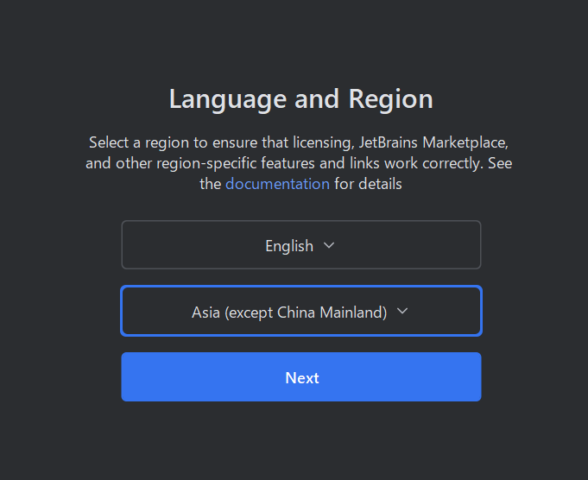
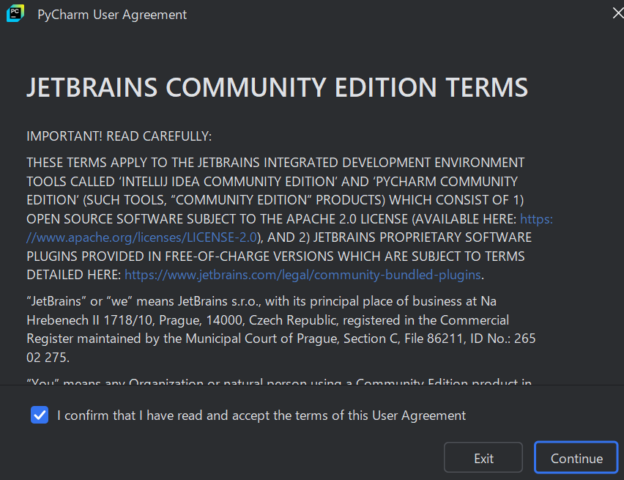
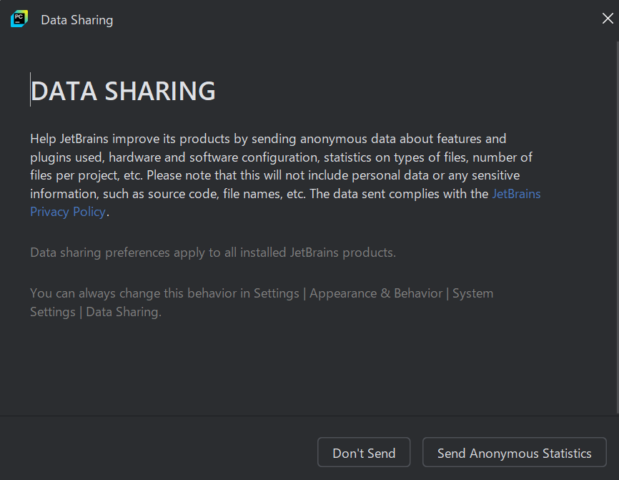
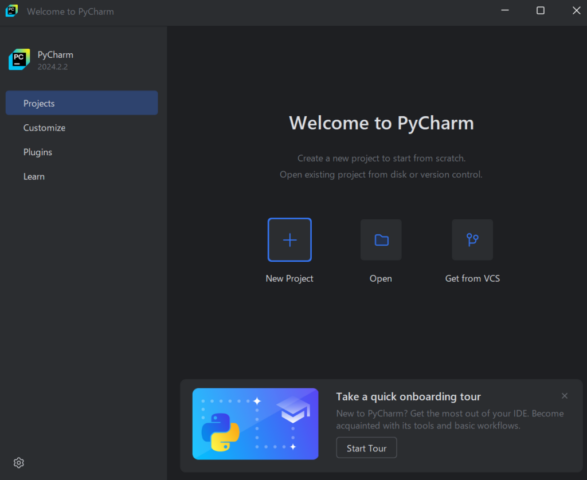
Start PyCharm Community from the Windows 11 Start menu. On the first screen, select language and area information. Check the box on the second screen and click Continue. On the third screen, select whether or not to send software usage statistics.
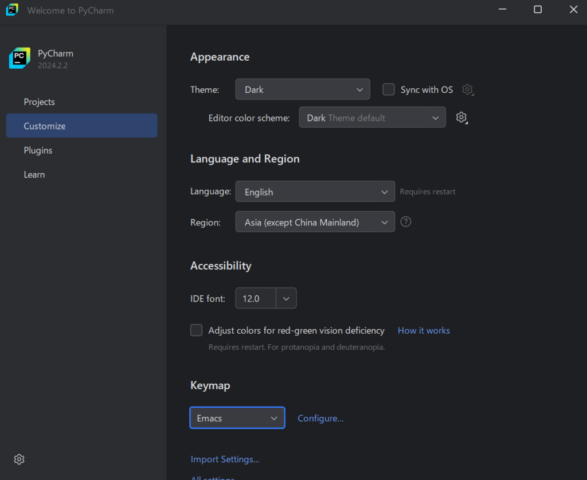
When the fourth screen appears, click Customize. There is no need to change anything in particular, but in the example of the fifth screen, Keymap is changed to emacs.
3.2. Creating a PyCharm Project and installing Ultralytics YOLO
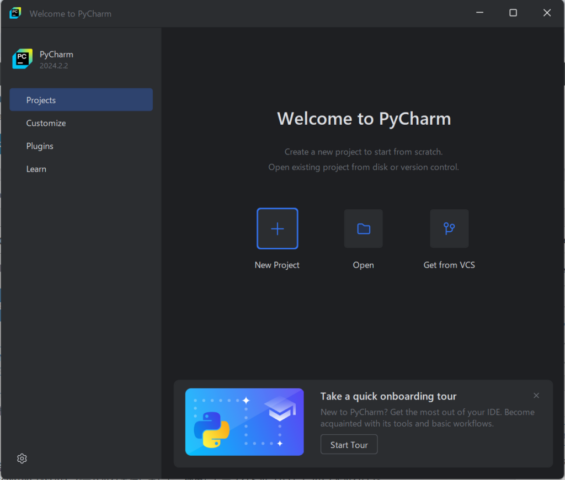
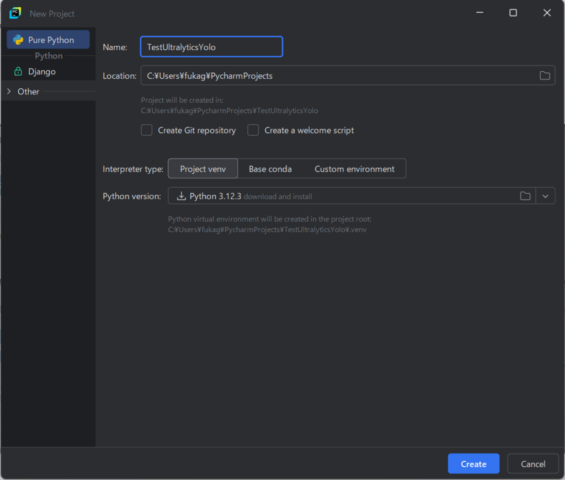
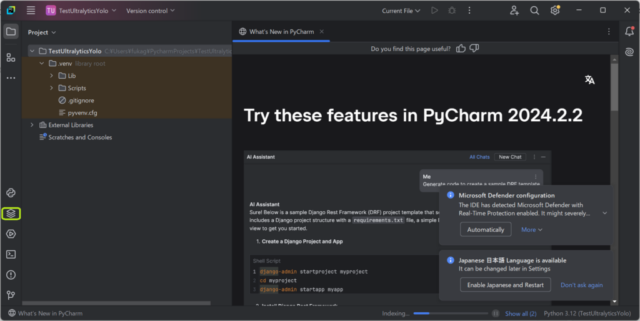
Select Projects as shown in the first image, then click New Project. Enter a project name in the Name field as shown in the second image and click the Create button. In this example, the Project name is TestUltralyticsYolo. Click the button in the green frame on the far left of the third image.
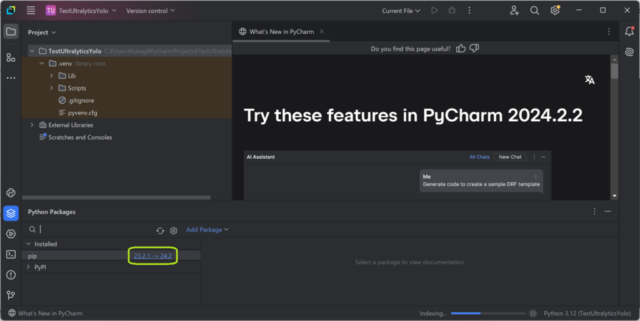
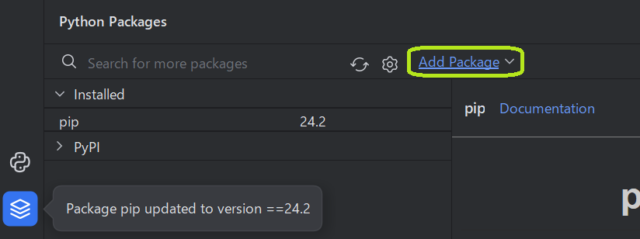
Click on the link inside the green box in the lower left corner of the first image to update the pip version. After a while, the pip version will be updated as shown in the second image. Click inside the green box in the third image to add a Package.
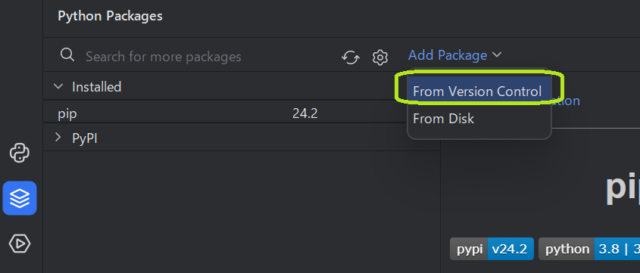
Select From Version Control as shown in the first image. As shown in the second image, check Install as editable (-e) and enter the following string. The Install as editable is checked so that rewrites of the downloaded Ultralytics Python scripts will be immediately reflected to the program execution. When installing with this setup, I had to add #egg=ultaralytics at the end or the installation would fail, so I set the following string. After a few moments, the screen will look like the third image and the Ultralytics installation will be complete.
https://github.com/ultralytics/ultralytics#egg=ultralytics
3.3. Running Ultralytics YOLO
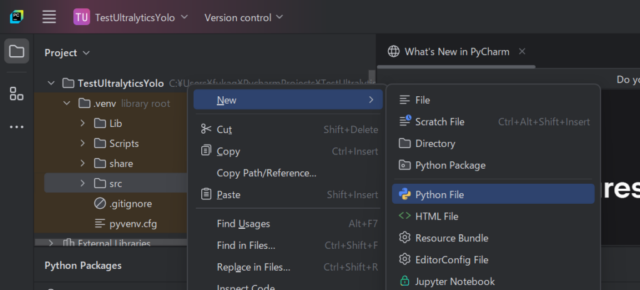
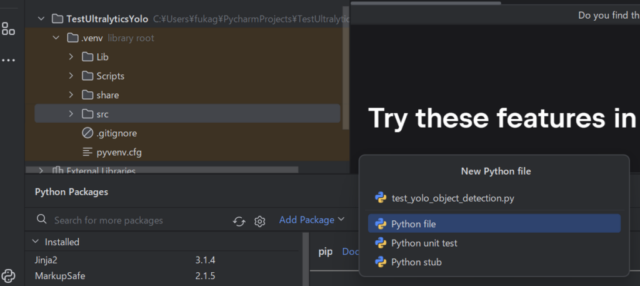
Right click on the src folder as shown in the first image and select New -> Python File. Enter the name of the Python File to be added as shown in the second image. In this example, I use “test_yolo_object_detection.py”. Enter the contents of the Python script to be executed in test_yolo_object_detection.py as shown in the third image, then click inside the green box at the top to execute the script.
The Python script entered looks like this. The string set in the source variable is the address of the bird image shown here.
from ultralytics import YOLO

# Load a pretrained YOLOv8n model
model = YOLO("yolov8n.pt")

# Define remote image or video URL
source = "https://www.leafwindow.com/wordpress-05/wp-content/uploads/2023/03/DSC00283-min-SonyAlpha-%E6%A8%AA.jpg"

# Run inference on the source
results = model(source)  # list of Results objects

# Save image
results[0].save("A_bird_taken_at_nagara_park.jpg")
However, when I run the Python script at the end of these steps, I get the following error in the console.
C:\Users\fukag\PycharmProjects\TestUltralyticsYolo\.venv\Scripts\python.exe C:\Users\fukag\PycharmProjects\TestUltralyticsYolo\.venv\src\test_yolo_object_detection.py
Traceback (most recent call last):
  File "C:\Users\fukag\PycharmProjects\TestUltralyticsYolo\.venv\src\test_yolo_object_detection.py", line 1, in <module>
    from ultralytics import YOLO
ImportError: cannot import name 'YOLO' from 'ultralytics' (unknown location)

Process finished with exit code 1
3.4. Add Ultralytics path to Interpreter Paths
Add the Ultralytics path to Interpreter Paths in Project so that Python scripts that reference Ultralytics packages could be executed.
Before adding Path, the installed PyCharm Community 2024.2.2 was updated to PyCharm Community 2024.2.3. A small yellow circle in the upper right corner of the Settings button in the shape of a gear at the top indicated that an updated version existed, so I clicked on it and chose to update to PyCharm Community 2024.2.3.
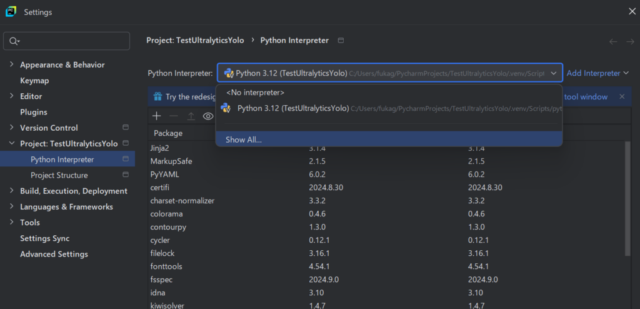
Click the Settings button at the top of the screen as shown in the first image to open the Settings screen. As shown in the second image, select Project -> Python Interpreter from the left panel, select Python Interpreter, and then select Show All. Click inside the green frame in the third image.
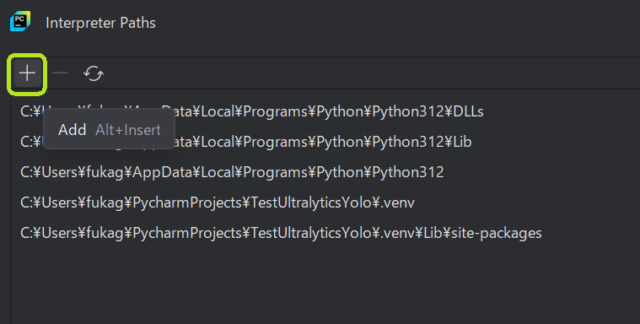
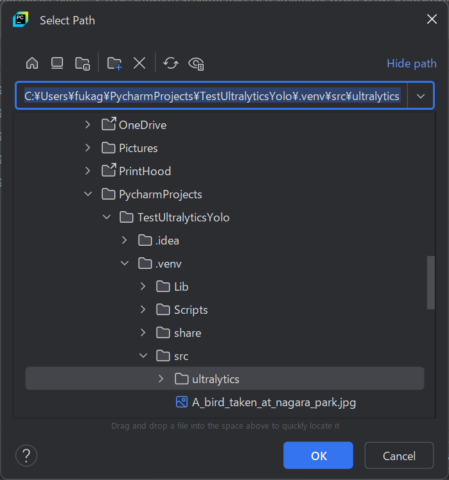
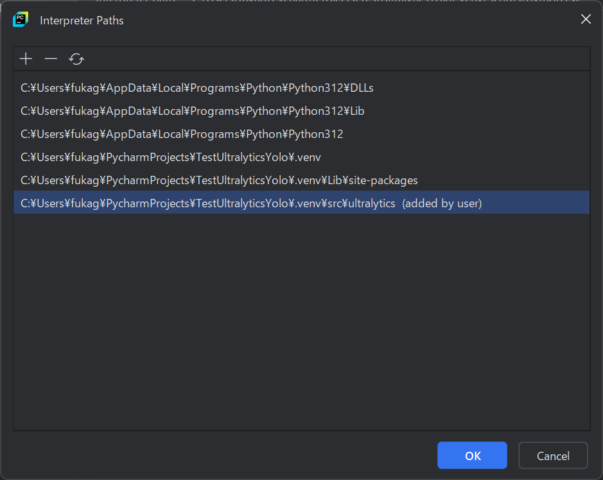
Click inside the green box in the first image to add Interpreter Paths. As shown in the second image, select the Ultralytics directory that was copied in Project at the previous steps. The third image shows the Interpreter Paths after the selection.
When the Python script prepared in 3.3. above is rerun, the following string will be output to the console.
C:\Users\fukag\PycharmProjects\TestUltralyticsYolo\.venv\Scripts\python.exe C:\Users\fukag\PycharmProjects\TestUltralyticsYolo\.venv\src\test_yolo_object_detection.py

Found https://www.leafwindow.com/wordpress-05/wp-content/uploads/2023/03/DSC00283-min-SonyAlpha-横.jpg locally at DSC00283-min-SonyAlpha-横.jpg
image 1/1 C:\Users\fukag\PycharmProjects\TestUltralyticsYolo\.venv\src\DSC00283-min-SonyAlpha-横.jpg: 448x640 1 bird, 194.1ms
Speed: 7.8ms preprocess, 194.1ms inference, 14.6ms postprocess per image at shape (1, 3, 448, 640)

Process finished with exit code 0
Double-click on the A_bird_taken_at_nagara_park.jpg output from running the Python script, and the second image will be shown.
3.5. Running Debug on Ultralytics YOLO
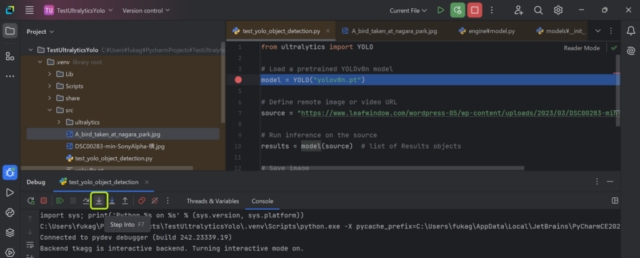
As shown in the first image, click the area to the left of the code with the mouse and set the breakpoint. Then click the debug button at the top of the screen. The following message will be output to the console.
import sys; print('Python %s on %s' % (sys.version, sys.platform))
C:\Users\fukag\PycharmProjects\TestUltralyticsYolo\.venv\Scripts\python.exe -X pycache_prefix=C:\Users\fukag\AppData\Local\JetBrains\PyCharmCE2024.2\cpython-cache "C:/Users/fukag/AppData/Local/Programs/PyCharm Community/plugins/python-ce/helpers/pydev/pydevd.py" --multiprocess --qt-support=auto --client 127.0.0.1 --port 60546 --file C:\Users\fukag\PycharmProjects\TestUltralyticsYolo\.venv\src\test_yolo_object_detection.py
Connected to pydev debugger (build 242.23339.19)
Backend tkagg is interactive backend. Turning interactive mode on.
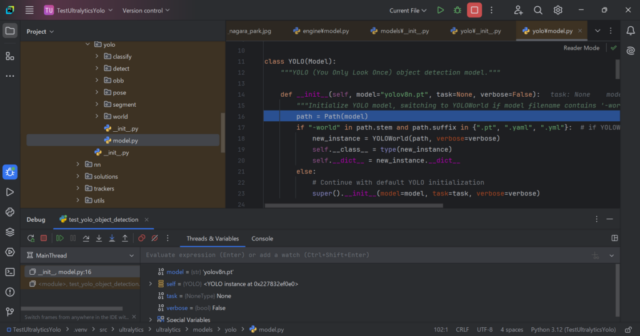
After a short time, program execution pauses just before executing the code at the breakpoint. Clicking on the button inside the green box in the second image takes you inside the Ultralytics code that generates the YOLO instance.
The third screen shows the code for Ultralytics, which has been moved to the constructor of class YOLO.
