Install Prism Template Pack to Visual Studio 2022 and create a Prism WPF project
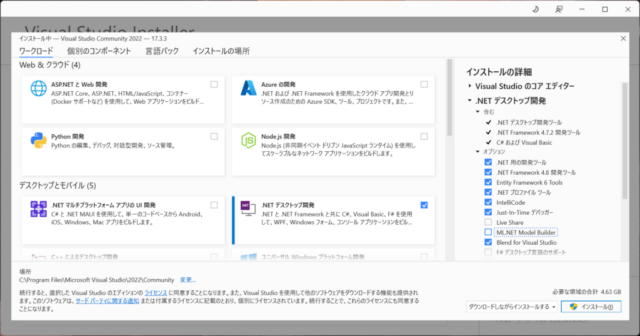
1. After launching Visual Studio 2022 installer, select “.NET Desktop Development” and press Install button. (I have confirmed that I can build and launch a simple Prism WPF project even if I install it with Live Share and ML.NET Model Builder unchecked as shown in the attached image.)
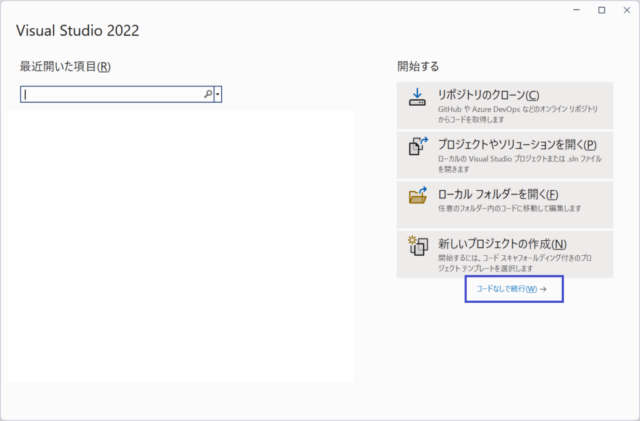
2. After installing Visual Studio 2022, select Continue without code and install the Prism Template Pack.
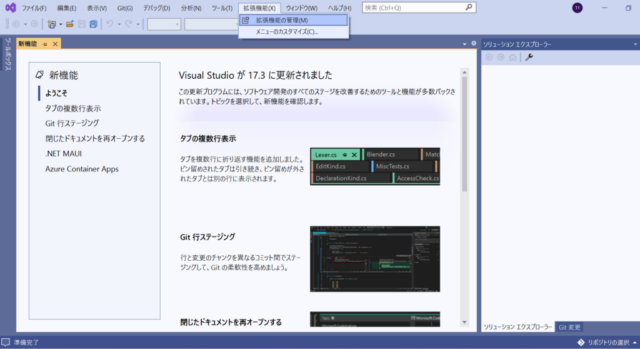
3. Select “Extensions” -> “Manage Extensions”.
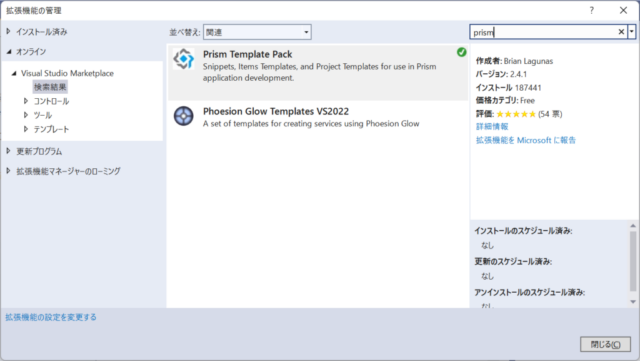
4. Search for prism and select Prism Template Pack. (The example in the image is for a case where the Prism Template Pack is already installed.)
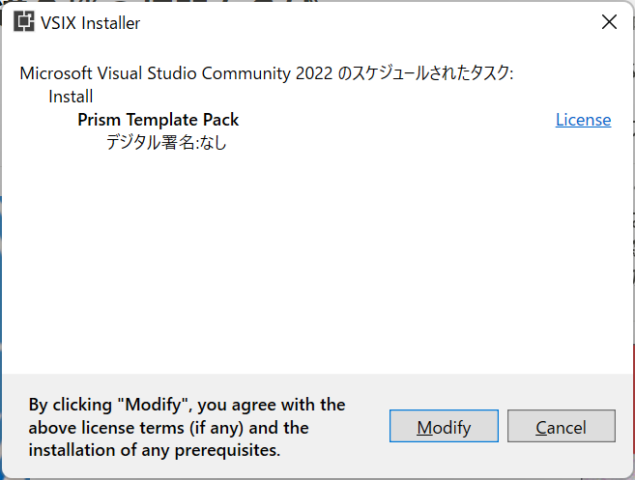
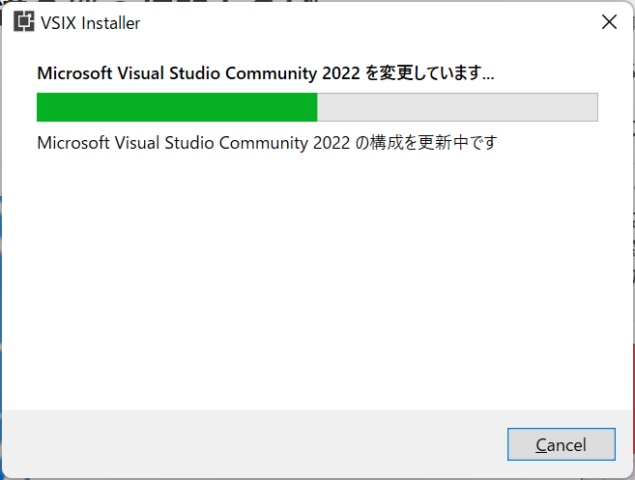
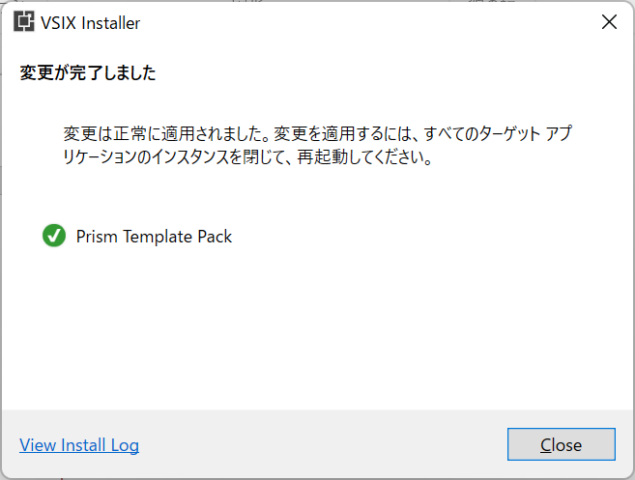
5. After closing Visual Studio 2022, the installation of Prism Template Pack will start as shown in the following images. Press the Modify button to install.
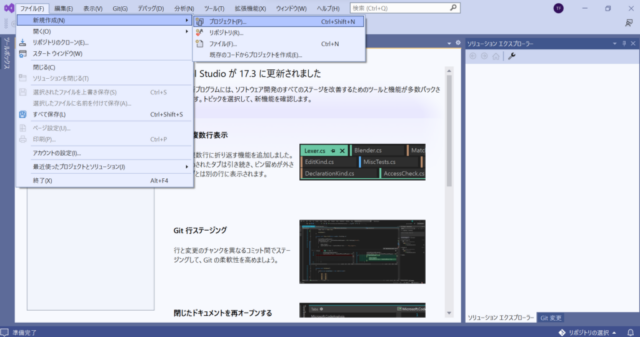
6. Start Visual Studio 2022 again and select File->New->Project to start creating a new project.
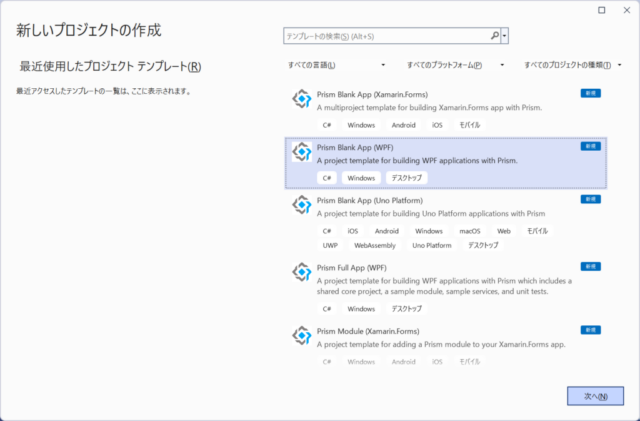
7. Select Prism Blank App (WPF) and click “Next”.
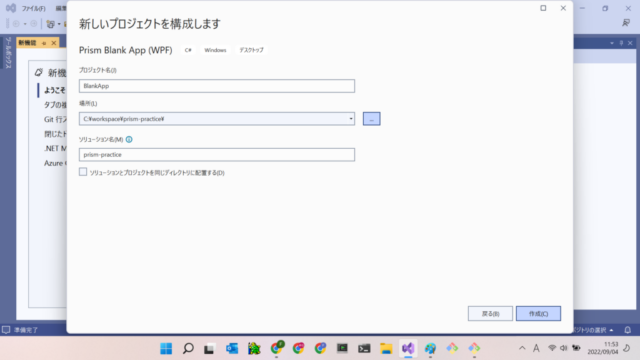
8. Enter a project name, location, and solution name, then click “Create”.
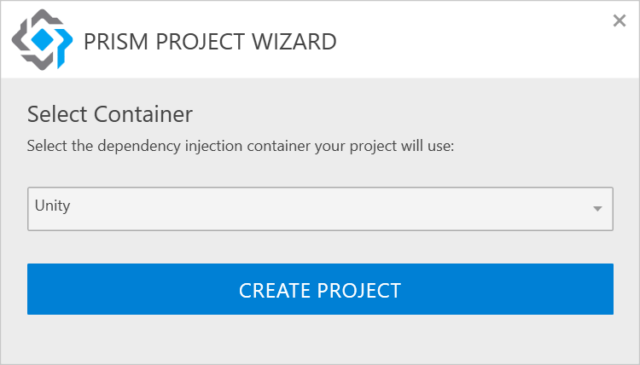
9. Select Unity and click CREATE PROJECT.
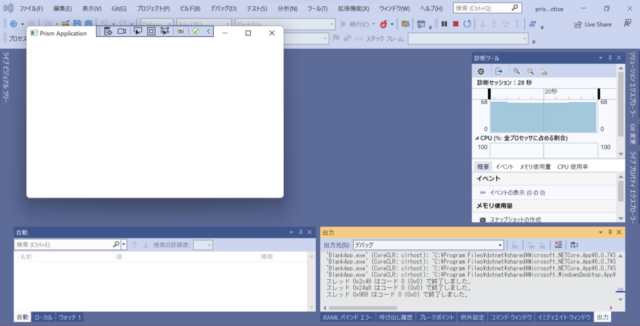
10. Click on the blue box in the figure to build and start debugging execution.
11. A blank window named Prism Application will appear, as shown in the figure.
